Thursday 2 April 2009

Sausage and Potato Bake Recipe

Sausage and potato bake with garlic bread and beans

This recipe is easy to make and guaranteed to feed even the most hungry family. It's cheap as well, relying on sausage, potato and a small amount of thick cut bacon.

KEY POINTS

Preparation Time: 20 minutes Cooking Time: 1 hour 45 mins
How Difficult Easy Freeze? No

Servings

4


INGREDIENTS

Ingredients for Sausage and Potato Bake

Ingredients

Imperial

Metric

Pork sausages

8

Onion

2 medium

King Edward / Maris Piper

2.2lb

1 kg

Slices of thickly cut bacon

4

1 Onion 1.5 ounces 45 grams
Dried or fresh thyme ½ teaspoon dried or 1 teaspoon fresh
Beef stock (1 oxo cube) 6 fl ozs 200ml
Cheddar cheese

2 ounces

55g

Butter

2 ounces

55g

Salt and pepper

To taste

PREPARATION
Finely chop the onions.
Peel and thinly slice the potatoes
Chop the bacon
Grate the cheddar cheese

COOKING EQUIPMENT
1 Medium-sized frying pan (skillet)
1 oven proof dish

How To Cook This Recipe

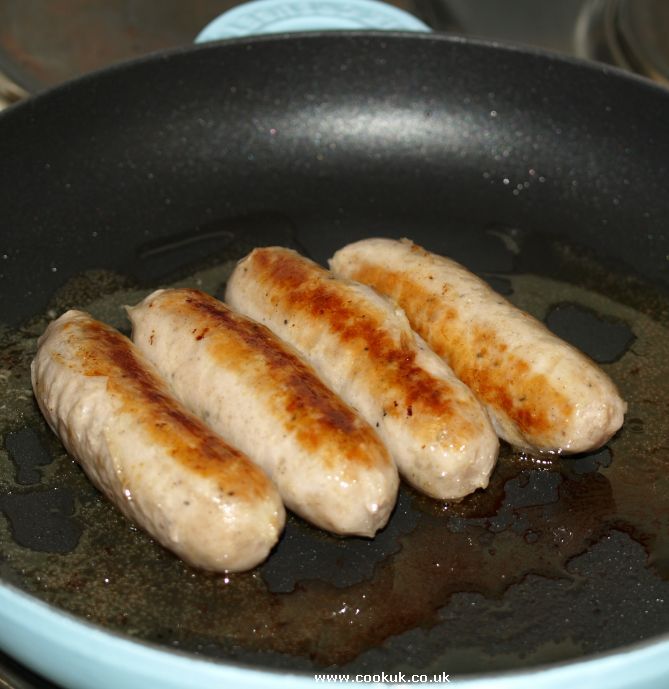
Heat the frying pan (skillet) to a medium heat and fry the sausages until they are browned. This should take about 8 minutes.

Keep turning the sausages whilst they are frying to ensure that they are browned on three or four sides.


Remove the sausages from the pan, leaving the juices in the pan.

Add the onions to the pan with the butter and fry on a lowish heat for 10 minutes. By this time the onions will have softened.

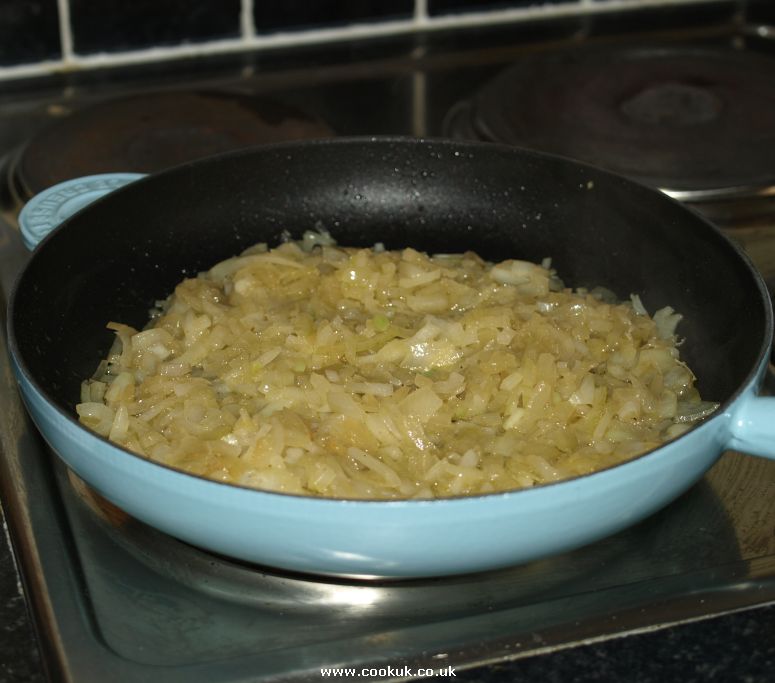
Preheat the oven to 170°C / 325°F / Gas Mark 3

Frying thick cut bacon Remove the onions from the pan and leave the remaining butter in the pan.

Add the bacon and fry until it starts to crisp up. Turn frequently to ensure both sides are cooked. This should take about 8 minutes.

Chop each of the cooked sausages into 1cm (½ inch) slices. Layer the ingredients into the casserole dish. A layer of potatoes first, then half the thyme, onions, sausage and bacon. Then another layer of potatoes, then the remaining thyme, onions, sausage and bacon. Finally, top with a layer of potatoes

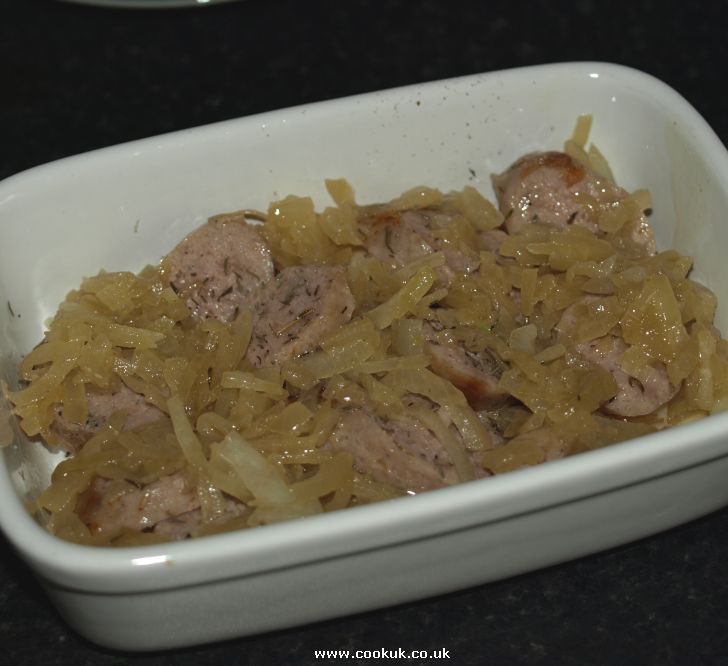
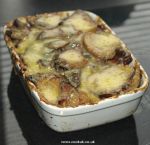
Pour the beef stock over the potatoes so that it comes up just below the top of the casserole dish. Place in the pre-heated oven and bake for 1 hour 40 minutes.

Take the dish from the oven and sprinkle over the grated cheddar cheese. Place under a hot grill for 2 minutes. We served ours with baked beans and garlic bread.

Wednesday 1 April 2009

Mint White Chocolate Mousse & Dark Chocolate Chile Brownie

Mint White Chocolate Mousse & Dark Chocolate Chile Brownie recipe picture

Ingredients:

Mint White Chocolate Mousse & Dark Chocolate Chile Brownie recipe picture 1The Mint White Chocolate Mousse :

6oz chopped premium white chocolate, plus more for garnish
1.25 cups whipping cream, divided
2 egg whites
1/8 teaspoon cream of tartar
2 tsp granulated sugar
2 tsp vanilla extract
2-3 TB peppermint schnapps (substitute: few drops mint extract)
Fresh mint, cleaned and thoroughly dried, for garnish


Step 1:

Mint White Chocolate Mousse & Dark Chocolate Chile Brownie recipe picture 2Make your garnish ahead of time: gently warm the bar with your hands (or zap in the microwave for about 10 seconds) and pull curls with a vegetable peeler.


Step 2:

Mint White Chocolate Mousse & Dark Chocolate Chile Brownie recipe picture 3Measure out your white chocolate, and melt the rest in the microwave in a bowl, 20 seconds at a time. Dip in the leaves.


Step 3:

Mint White Chocolate Mousse & Dark Chocolate Chile Brownie recipe picture 4Place each dipped leaf on parchment paper, and put in the fridge to set up (don't put it in the freeze: I did that and then forgot about them. A few minutes after taking them out, they turned brown around the edges).


Step 4:

Mint White Chocolate Mousse & Dark Chocolate Chile Brownie recipe picture 5In a large bowl over (but not touching) simmering water, slowly melt your 6oz white chocolate with 1/4 cup cream, stirring occasionally.


Step 5:

Mint White Chocolate Mousse & Dark Chocolate Chile Brownie recipe picture 6Set aside to cool to lukewarm for about 15 minutes.


Step 6:

Mint White Chocolate Mousse & Dark Chocolate Chile Brownie recipe picture 7While it's cooling, beat the remaining whipping cream with sugar, vanilla, and schnapps until peaks form. Set aside.


Step 7:

Mint White Chocolate Mousse & Dark Chocolate Chile Brownie recipe photos 8In another large bowl, with dry and clean beaters, whip the egg whites with cream of tartar until stiff peaks form but eggs are not dry.


Step 8:

Mint White Chocolate Mousse & Dark Chocolate Chile Brownie recipe photos 9Gently fold the egg whites into the now-cooled chocolate mixture until just combined. Gently fold in the whipping cream until just combined. Caution: do NOT re-whip this, or the texture will become granular.

Dish the mousse and garnish with mint leaves and chocolate curls.


Step 9:

step-by-step recipe photos 10The Dark Chocolate Chile Brownie :

6 oz unsweetened chocolate, chopped
3/4 cup unsalted butter, cut into cubes
3 large eggs
1 3/4 cup granulated sugar
2 tsp vanilla
1/4 tsp salt
1 cup plus 2 TB AP flour
1 chile-chocolate bar, like Dagoba, Lindt, or Venchi


Step 10:

Mint White Chocolate Mousse & Dark Chocolate Chile Brownie recipe photos 11Preheat oven to 350 degree F. Butter and place parchment paper in an 8x8" baking pan.


Step 11:

Mint White Chocolate Mousse & Dark Chocolate Chile Brownie recipe photos 12In a medium bowl over (but not touching) simmering water, melt the unsweetened chocolate and butter. When melted, set aside to cool slightly for a few minutes.


Step 12:

Mint White Chocolate Mousse & Dark Chocolate Chile Brownie cooking image 13In a large bowl, beat the eggs, sugar, vanilla, and salt.


Step 13:

cooking image 14Chop up your chile-chocolate bar, and set aside.


Step 14:

cooking image 15Whisk the chocolate mixture into the eggs. Sprinkle the flour over the top of the egg and chocolate mixture, and whisk until almost combined. Add the chopped chocolate, switch from the whisk to a wooden spoon, and mix until just combined.


Step 15:

cooking image 16Pour the batter into the pan, smoothing the top. Bake for 35-40 minutes, and let cool for a few hours. When cool, cut into personal sized squares, and glaze with chocolate glaze.


Step 16:

cooking image 17To make the chocolate glaze :

8oz dark chocolate, chopped
1 cup heavy cream
1.5 TB corn syrup (not shown in ingredients pic)
1/2 tsp cayenne pepper (or to taste)

Heat cream over low heat until bubbles begin to form around edges. Add chocolate, cayenne and corn syrup; whisk until smooth.


Step 17:

cooking image 18Set aside to cool slightly before pouring over brownies. Garnish with a tiny sprinkling of cayenne.


Step 18:

cooking image 19Serve the The Dark Chocolate Chile Brownie and The Mint White Chocolate Mousse together like so.


Sunday 29 March 2009

Omelet with Mushrooms, Ham and Cheddar

Omelet with Mushrooms, Ham and Cheddar recipe picture

Ingredients:

Omelet with Mushrooms, Ham and Cheddar recipe picture 1You will need: corn oil, button mushrooms, eggs, sliced ham, and cheddar cheese.


Step 1:

Omelet with Mushrooms, Ham and Cheddar recipe picture 2Slice button mushrooms. They are also available at the supermarket pre-sliced.


Step 2:

Omelet with Mushrooms, Ham and Cheddar recipe picture 3Put a little bit of oil in the pan.


Step 3:

Omelet with Mushrooms, Ham and Cheddar recipe picture 4Put in the mushrooms and mix them till they slightly turn brown.


Step 4:

Omelet with Mushrooms, Ham and Cheddar recipe picture 5Add the sliced ham.


Step 5:

Omelet with Mushrooms, Ham and Cheddar recipe picture 6I used 4 beaten eggs. You can also add a little bit of salt to the eggs, but be careful as the ham is a bit salty already.


Step 6:

Omelet with Mushrooms, Ham and Cheddar recipe picture 7Lower the heat until it makes the eggs firm up. You can also scramble them, which is quicker if you are really in a hurry.


Step 7:

Omelet with Mushrooms, Ham and Cheddar recipe photos 8Then you can add the cheddar cheese at the top for an omelet, or for the scramble just mix them in at low heat.


Step 8:

Omelet with Mushrooms, Ham and Cheddar recipe photos 9Meanwhile, I baked bread in the oven ( I like it warm) and served it with fresh orange juice and fresh milk. You can actually use any bread, because the taste of this omelet or scramble eggs is very good. This is my favorite breakfast.


Squash Pancakes with Spicy Thai Peanut Sauce

Squash Pancakes with Spicy Thai Peanut Sauce recipe picture

Ingredients:

Squash Pancakes with Spicy Thai Peanut Sauce recipe picture 1Squash
2 eggs
1.5 cups of flour
vegetable oil or Clarified Butter

Sauce:
soy sauce
red pepper flakes
grated ginger
peanut butter

Topping:
Jalapeno slices

I was inspired by potato pancakes and the inherent stringy-ness of spaghetti quash made it work like shredded potatos. I didn't use onion though.

First, halve and steam the squash in the oven.


Step 1:

Squash Pancakes with Spicy Thai Peanut Sauce recipe picture 2Steamed and looking good:


Step 2:

Squash Pancakes with Spicy Thai Peanut Sauce recipe picture 3Tried to press out as much water as possible.

Forgot to take a picture, but I put it in a mixing bowl, added 2 eggs and about 1.5 cups of flour.


Step 3:

Squash Pancakes with Spicy Thai Peanut Sauce recipe picture 4Prepare for frying! Use vegetable oil since it has a high smoke point. CLARIFIED butter is OK too.


Step 4:

Squash Pancakes with Spicy Thai Peanut Sauce recipe picture 5Fry, flip fry, dry, keep warm.


Step 5:

Squash Pancakes with Spicy Thai Peanut Sauce recipe picture 6Pancakes need a sauce too. Why not a spicy Thai peanut sauce?

The thing in the little baggie is grated ginger.


Step 6:

Squash Pancakes with Spicy Thai Peanut Sauce recipe picture 7Slop above in to a small sauce pan. Heat it up until it looks really gross. Add water so it looks even worse, then gently heat it until the water incorporates in to the sauce. Continue heating (and stirring) until it's as thick as you want.


Step 7:

Squash Pancakes with Spicy Thai Peanut Sauce recipe photos 8Cover the squash pancakes with some spicy Thai peanut sauce and a a few thin slices of Jalapeno.